.jpg?x-oss-process=image/auto-orient,1/quality,q_100/resize,m_mfit,w_1000,h_1000 "Compatible for BMW E36 M3 316i 318i 318is 320i 1990-1998 4pcs 24 Damper Adjustable Suspension Coilovers Shock Absorber kits Lowering Kit")

.jpg?x-oss-process=image/auto-orient,1/quality,q_100/resize,m_mfit,w_1000,h_1000 "Compatible for BMW E36 M3 316i 318i 318is 320i 1990-1998 4pcs 24 Damper Adjustable Suspension Coilovers Shock Absorber kits Lowering Kit")
.jpg?x-oss-process=image/auto-orient,1/quality,q_100/resize,m_mfit,w_1000,h_1000 "Compatible for BMW E36 M3 316i 318i 318is 320i 1990-1998 4pcs 24 Damper Adjustable Suspension Coilovers Shock Absorber kits Lowering Kit")
.jpg?x-oss-process=image/auto-orient,1/quality,q_100/resize,m_mfit,w_1000,h_1000 "Compatible for BMW E36 M3 316i 318i 318is 320i 1990-1998 4pcs 24 Damper Adjustable Suspension Coilovers Shock Absorber kits Lowering Kit")
.jpg?x-oss-process=image/auto-orient,1/quality,q_100/resize,m_mfit,w_1000,h_1000 "Compatible for BMW E36 M3 316i 318i 318is 320i 1990-1998 4pcs 24 Damper Adjustable Suspension Coilovers Shock Absorber kits Lowering Kit")
.jpg?x-oss-process=image/auto-orient,1/quality,q_100/resize,m_mfit,w_1000,h_1000 "Compatible for BMW E36 M3 316i 318i 318is 320i 1990-1998 4pcs 24 Damper Adjustable Suspension Coilovers Shock Absorber kits Lowering Kit")
.jpg?x-oss-process=image/auto-orient,1/quality,q_100/resize,m_mfit,w_1000,h_1000 "Compatible for BMW E36 M3 316i 318i 318is 320i 1990-1998 4pcs 24 Damper Adjustable Suspension Coilovers Shock Absorber kits Lowering Kit")
.jpg?x-oss-process=image/auto-orient,1/quality,q_100/resize,m_mfit,w_1000,h_1000 "Compatible for BMW E36 M3 316i 318i 318is 320i 1990-1998 4pcs 24 Damper Adjustable Suspension Coilovers Shock Absorber kits Lowering Kit")
.jpg?x-oss-process=image/auto-orient,1/quality,q_100/resize,m_mfit,w_1000,h_1000 "Compatible for BMW E36 M3 316i 318i 318is 320i 1990-1998 4pcs 24 Damper Adjustable Suspension Coilovers Shock Absorber kits Lowering Kit")
.jpg?x-oss-process=image/auto-orient,1/quality,q_100/resize,m_mfit,w_1000,h_1000 "Compatible for BMW E36 M3 316i 318i 318is 320i 1990-1998 4pcs 24 Damper Adjustable Suspension Coilovers Shock Absorber kits Lowering Kit")
.jpg?x-oss-process=image/auto-orient,1/quality,q_100/resize,m_mfit,w_1000,h_1000 "Compatible for BMW E36 M3 316i 318i 318is 320i 1990-1998 4pcs 24 Damper Adjustable Suspension Coilovers Shock Absorber kits Lowering Kit")
.jpg?x-oss-process=image/auto-orient,1/quality,q_100/resize,m_mfit,w_1000,h_1000 "Compatible for BMW E36 M3 316i 318i 318is 320i 1990-1998 4pcs 24 Damper Adjustable Suspension Coilovers Shock Absorber kits Lowering Kit")
.jpg?x-oss-process=image/auto-orient,1/quality,q_100/resize,m_mfit,w_1000,h_1000 "Compatible for BMW E36 M3 316i 318i 318is 320i 1990-1998 4pcs 24 Damper Adjustable Suspension Coilovers Shock Absorber kits Lowering Kit")
.jpg?x-oss-process=image/auto-orient,1/quality,q_100/resize,m_mfit,w_1000,h_1000 "Compatible for BMW E36 M3 316i 318i 318is 320i 1990-1998 4pcs 24 Damper Adjustable Suspension Coilovers Shock Absorber kits Lowering Kit")


Here, we prepare a detailed MaXpeedingRods coilover installation guide. It’s kindly shared by one of our friends Jon Drives, who installed the coilover on his 1996 e36 328i, check the whole video below.
Below is a step-by-step installation guide for reference.
Install the front piece
Step 1: Get the car up in the air and pop the hood.
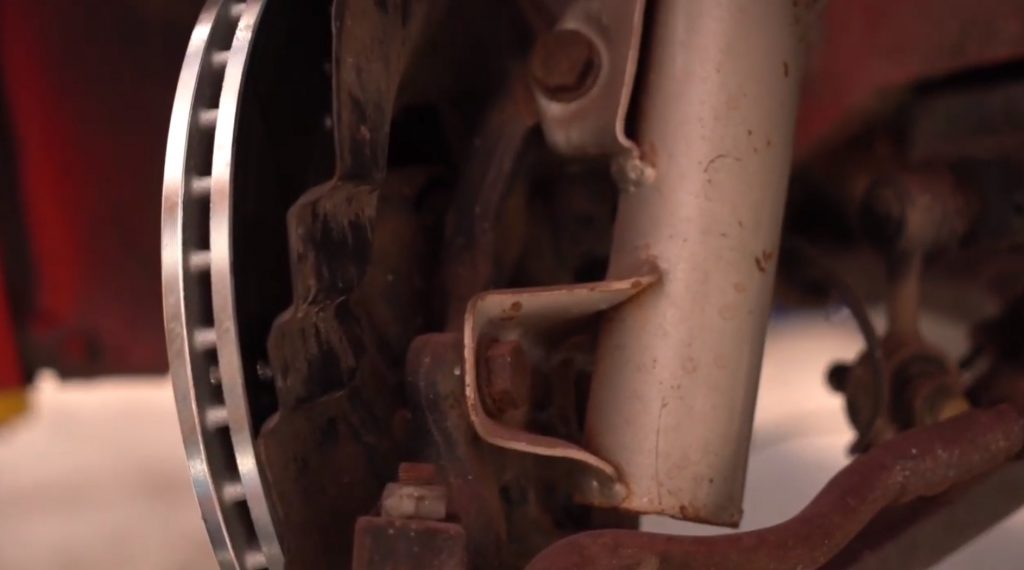
Step 2: Take off the three 18 millimeter bolts in the old suspension.
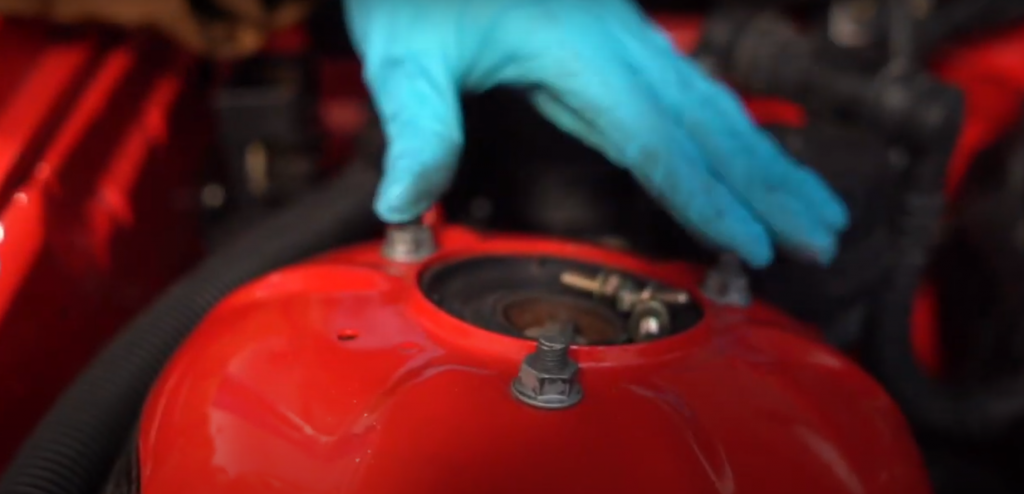
Step 3: Take off the three 13 millimeter bolts inside the engine bag on the top.
Step 4: Slide out the brake lines and speed sensors in the front in case that entire shocks come out.
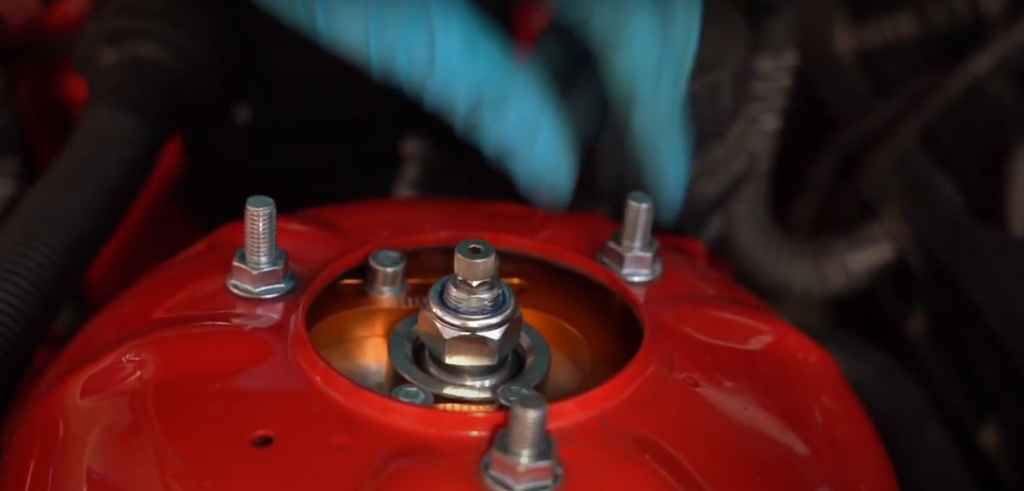
Step 5: Put in the coilover, pay attention to the orientation of the camber adjustment plate.
Step 6: Unbolt the four hex bolts, you can slide the entire top at one way or another adding or taking out some camber.
Step 7: Lift up the lower control arm and lift the whole assembly up into the place that is the most convenient to you.
Step 8: Lowered the coil over a little bit to adjust the adjustability whenever you get it all fully installed.
Step 9: Get all bolts bolted up on all four corners.

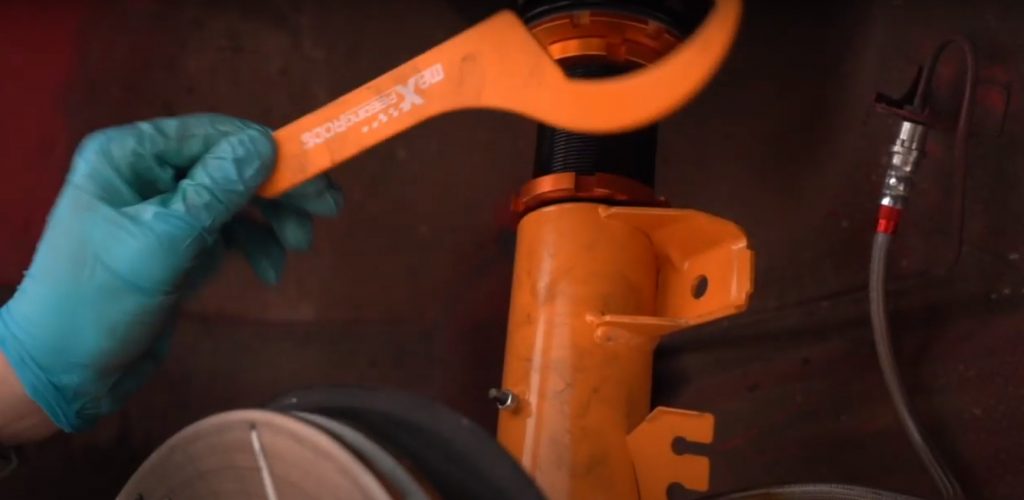
Step 10: Adjust the hight of the coilover, use the spanner wrench offered by MaXpeedingRods to crack the jam nut loose when it’s tight, or you can take your hand and twist the top part if it’s not that tough.
Install the rear piece
Step 11: Get to the two bolts on the top of the back-shop.
Step 12: Remove the battery and the piece of carpet carefully.
Step 13: Take off the back of the shock.
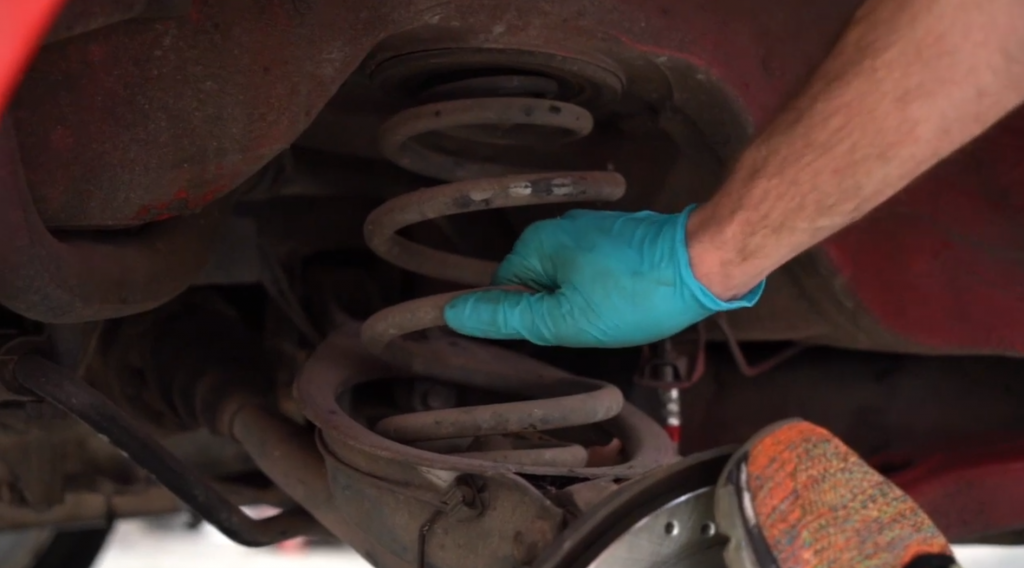
Step 14: Press down and pull it to get the old spring out.
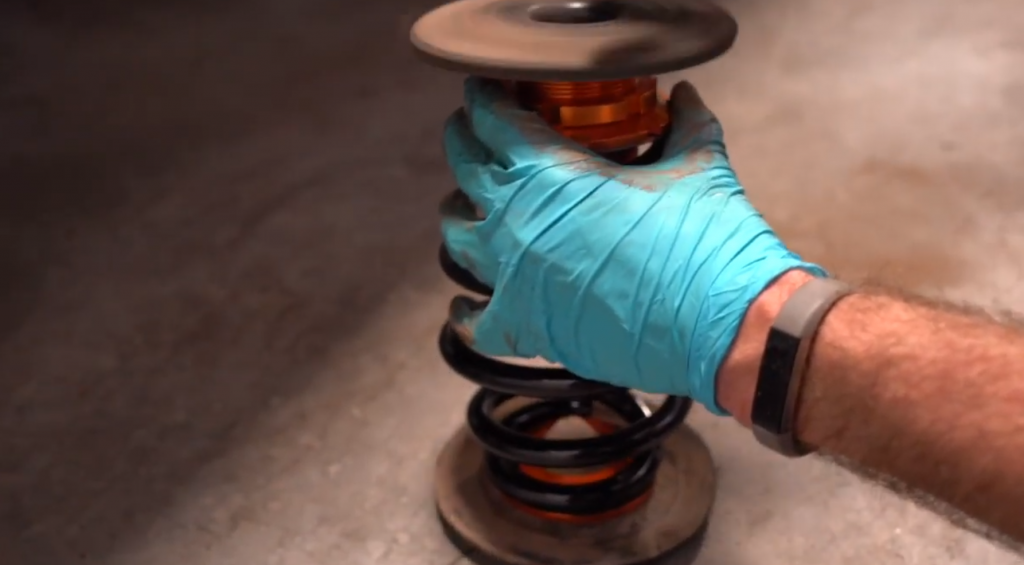
Step 15: Swap over the rubber top hat onto the new spring.

Step 16: Adjust to make the spring compress less so it will be easier to get it into the car.
Step 17: Unthread the sleeve a little bit to leave more room to work with, and it will be eaiser to adjust as you need once it’s got up in the car.
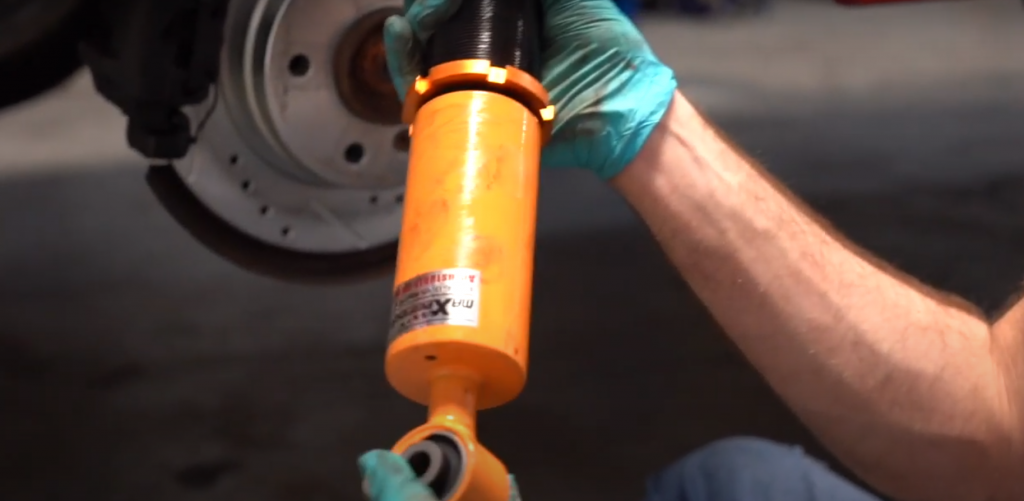
Step 18: Get the coilover in the car properly.
DISCLAIMER: This install guidance was authorized by Jon Drives and this install guidance is for reference purposes only. Always follow professional instructions on how to set this up correctly, MaXpeedingRods is not responsible for any damage caused by inappropriate installation.


.png?x-oss-process=image/auto-orient,1/quality,q_100/resize,m_mfit,w_170,h_170)


.jpg?x-oss-process=image/auto-orient,1/quality,q_100/resize,m_mfit,w_350,h_350)
.jpg?x-oss-process=image/auto-orient,1/quality,q_100/resize,m_mfit,w_350,h_350)
.jpg?x-oss-process=image/auto-orient,1/quality,q_100/resize,m_mfit,w_350,h_350)
.jpg?x-oss-process=image/auto-orient,1/quality,q_100/resize,m_mfit,w_350,h_350)
.jpg?x-oss-process=image/auto-orient,1/quality,q_100/resize,m_mfit,w_350,h_350)
.jpg?x-oss-process=image/auto-orient,1/quality,q_100/resize,m_mfit,w_350,h_350)